Culture Techniques de Culture et Récolte Durables Quelles différences entre le cannabis Indica et sativa ? Weed-master 23 février 2016
Culture Techniques de Culture et Récolte Durables Pollinisation avec le Guru de la Ganja Weed-master 10 août 2016
Science Recherche et Avancée Scientifique La consommation récréative peut protéger contre le déclin cognitif Lire la suite weedmaster 11 avril 2024
Science Recherche et Avancée Scientifique Une solution au “Bad Trip” ? Lire la suite weedmaster 8 avril 2024
Santé Impact Physique, Santé Mentale Comprendre les Risques du Trouble lié à l’Usage du Cannabis : L’Impact du Métabolisme du THC Lire la suite weedmaster 28 mars 2024
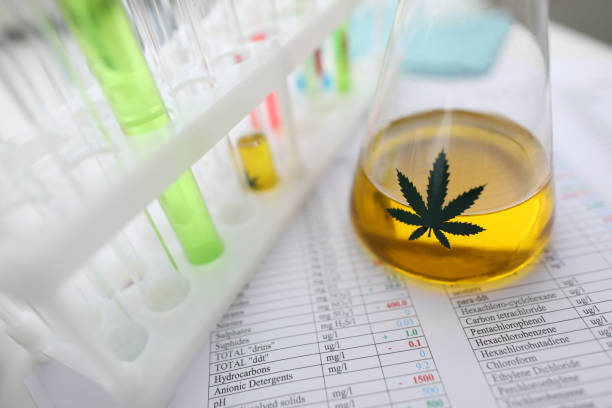
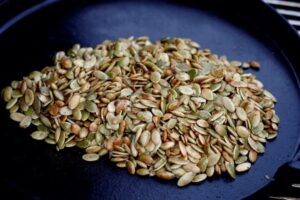
Science Recherche et Avancée Scientifique Étude sur le Traitement par Micro-Ondes des Graines de Chanvre et ses Effets sur la Saveur et la Qualité de l’Huile de Graines de Chanvre Lire la suite weedmaster 26 mars 2024
Chanvre Alimentaire Textile et Agriculture, Applications et Innovations Le Béton de Chanvre Weed-master 24 juillet 2016
Chanvre Alimentaire Textile et Agriculture, Applications et Innovations L’huile de graines de chanvre Weed-master 2 août 2016
Les Bénéfices de la Légalisation aux États-Unis : Plus de 15 Milliards de Dollars de Revenus 22 avril 2024
Les Autorités Françaises Confirment que les Fleurs ne Seront Pas Incluses dans le Programme de Cannabis Médical 15 mars 2024
Les Bénéfices de la Légalisation aux États-Unis : Plus de 15 Milliards de Dollars de Revenus 22 avril 2024
Les Autorités Françaises Confirment que les Fleurs ne Seront Pas Incluses dans le Programme de Cannabis Médical 15 mars 2024
Les Bénéfices de la Légalisation aux États-Unis : Plus de 15 Milliards de Dollars de Revenus Légalisation Les Bénéfices de la Légalisation aux États-Unis : Plus de 15 Milliards de Dollars de Revenus
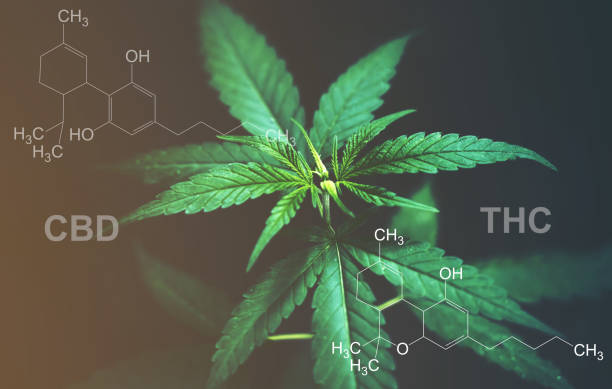
Tendances et Recherches sur le CBD Le CBD : Alternative Prometteuse pour Réduire l’Utilisation de Crack ?
Techniques de Culture et Récolte Durables Maximisation du Potentiel du Cannabis avec la Fertilisation Foliaire
Alimentaire Textile et Agriculture Révolutionnant l’Industrie Textile avec le Chanvre Écologique : Le Cas de Virgocoop
Actualités Légales Internationales Premières Données Partagées sur l’Étude Pilote sur l’Usage Adulte du Cannabis en Suisse
Impact Physique, Santé Mentale Comprendre les Risques du Trouble lié à l’Usage du Cannabis : L’Impact du Métabolisme du THC
Recherche et Avancée Scientifique Étude sur le Traitement par Micro-Ondes des Graines de Chanvre et ses Effets sur la Saveur et la Qualité de l’Huile de Graines de Chanvre
Recherche et Avancée Scientifique Une ancienne méthode pourrait produire du cannabis triploïde particulièrement puissant
Actualités Légales Internationales Les Autorités Françaises Confirment que les Fleurs ne Seront Pas Incluses dans le Programme de Cannabis Médical
Tendances et Recherches sur le CBD Démystification du Cannabidiol (CBD) dans le Contexte du Cancer : Une Analyse Approfondie
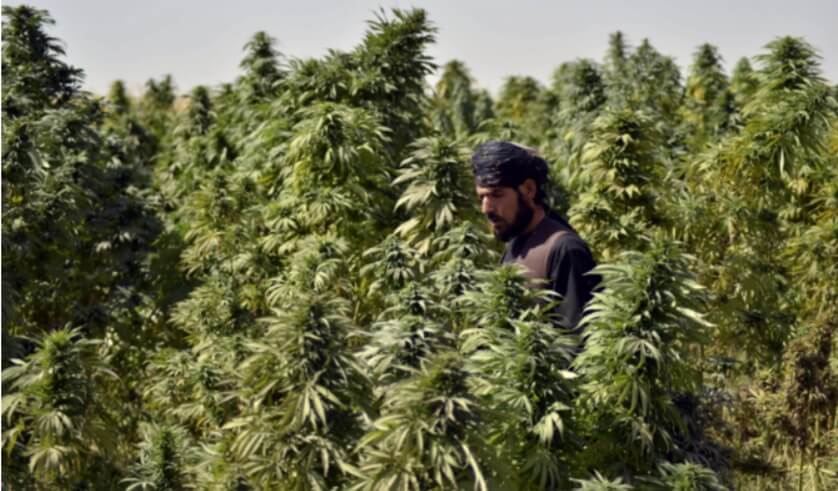
Actualités Légales Internationales Le Pakistan promulgue une loi pour réglementer l’industrie du cannabis
Actualités Légales Internationales, Cannabis Médical et Législation Le cannabis Médicale Désormais Disponible en Pharmacie dans Toute la Grèce
Actualités Légales Internationales L’Allemagne Donne le Feu Vert à la Légalisation du Cannabis, Jetant les Bases d’une Réforme Nationale
Techniques de Culture et Récolte Durables Une Nouvelle Ère de Culture : Comprendre le Cannabis Triploïde et ses Répercussions
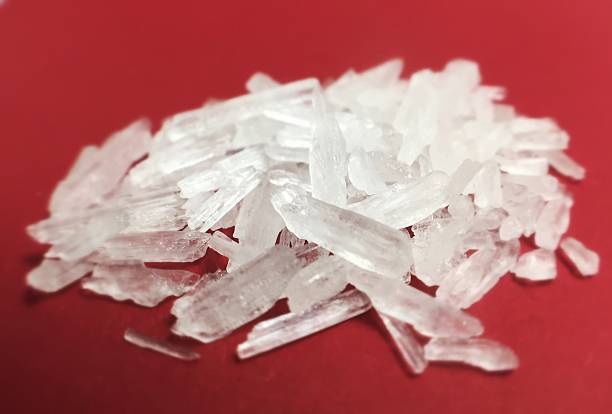
Impact Physique, Recherches Médicales Cannabis et Réduction des Risques de Dépendance à la Méthamphétamine
Actualités Légales Internationales New York élargit les règles pour la culture de cannabis à domicile
Alimentaire Textile et Agriculture Remède Intelligent pour les Sols Méditerranéens Contaminés par le Cuivre
Recherches Médicales Nouvelle Étude : L’extrait de Cannabis Déclenche la Mort des Cellules de Mélanome
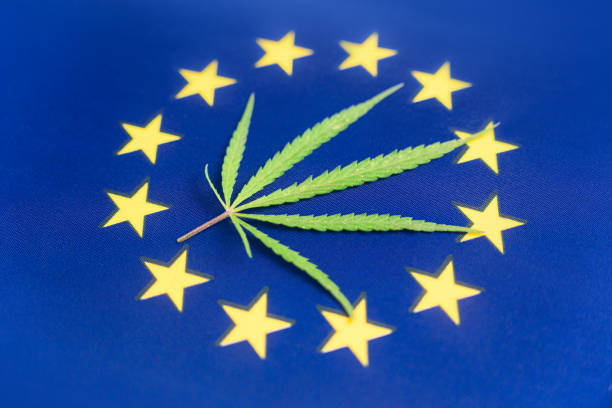
Actualités Légales Internationales, Cannabis Médical et Législation L’Union européenne avance vers une réforme du cannabis